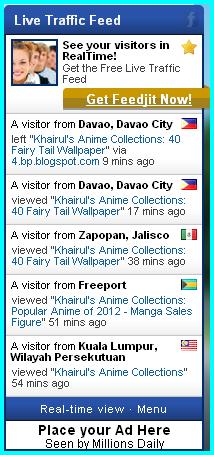
Due to it's high coolness factor, it's the first thing I look at on daily basis.
Now you can add it in your blog too...
1. Go to Feedjit website
2. Choose your Feedjit options, either Free or Paid. Let start with the free option:

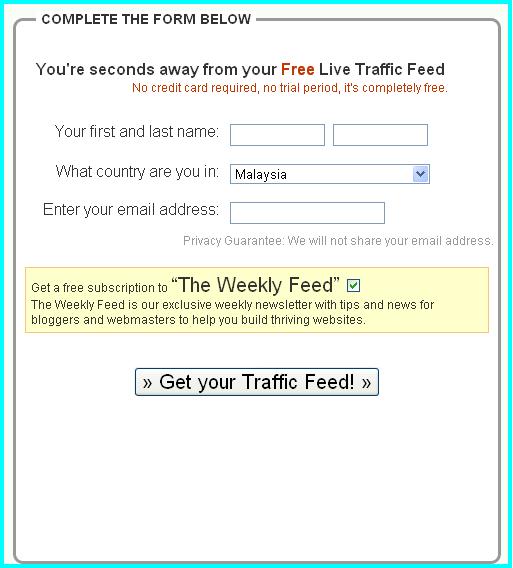
3. It will take you to another page. Select this option:

4. Complete the form with details of your first & last name, country and email address.
You can choose either to subscribe to it's weekly feed or not.
Then click on Get Your Traffic Feed!
5. You can select your customization preference option. Feel free to play around the options
available. I set my number of visitor to 10, to save space on my blog.
Don't forget to click on Show where visitors came from box.
You may notice the cool looking Live Traffic Feed box next to the customization option
table, with the pictures of your visitors included. This is actually the Paid version of
Feedjit, not the Free version.
Select your blog type and click on Go!

6. Just click to install on Blogger or Back to customization if you have something to tweak
before installing the widget

7. Select the blog you wish to install the widget in if you have more than one blog.
Set the title of your widget. I set mine to just Feedjit. Feel free to edit your
Content or Template before proceeding. Click on Add Widget to install it.

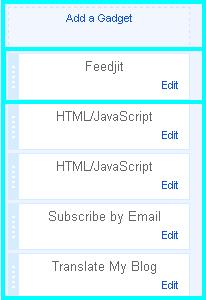
8. Arrange the position of your Feedjit widget as you please. Then click Save Arrangement
to complete your installation.
9. Have fun seeing visitors all over the world visiting your blog! Do drop me a comment if
you like. Thanks for reading my blog post!
Check out my next post : 31 Days to Build a Better Blog, 2nd Edition
No comments:
Post a Comment